The interview brought up an interesting point that I thought I would elaborate on here. There are a number of different chemicals out there that gamers have used with varying degrees of success for removing paint from figures. When deciding which ones to use, you need to think about two things:
- What material is the figure made of? Metal? Plastic? Resin (like Finecast)?
- What sort of paint has been applied to the figure?
The first question is easy to answer. Between inspecting the figure and looking at the figure company's website it should be fairly easy to figure out what material the figure is made of. In the case of GW figures the same model may be cast either in metal (older figures) or Finecast resin (Newer copies). If the different in heft isn't enough to figure out what material you're looking at, use a hobby knife to scrape a little paint off and see what's underneath.
The second question is much harder. Ideally the figures in question will have been painted with purpose-specific hobby paints (Citadel, Vallejo, P3, Reaper, Some Tamiya, etc). These are water-based acrylics and should be easy to take off. If you're unlucky the original painter may have used enamel paints (Testors, Humbrol, Some Tamiya, etc.) which is much harder to take off and will require stronger solvents. The wildcard will be whether or not the models were varnished. That awesome model of a space marine captain may have been painted with Citadel paints, but then the painter covered the model with multiple, heavy coats of Krylon Crystal Clear or another durable varnish, making your job that much harder. Often, especially when buying figures from eBay, you just don't know what you're dealing with.
In general, I recommend using the weakest solvent you can to take paint off your figures. Metal figures will be more tolerant of heavier-duty cleaners, but you need to exercise some care with plastic or resin. It's a good idea to keep bits of sprue from both plastic & resin/Finecast kits around to use as testers for different solvents. Every time you dunk a figure in a solvent you are initiating a chemical reaction where you want the solvent to interact with the paint and either dissolve it or detach it from the figure so you can take it off. The risk is that the solvent you are using to chemically alter the paint will also chemically alter the figure the paint is adhered to. When trying out a new solvent always try to use some piece of the material you don'r care about to see what it does. It's much better to take a small piece of resin sprue to figure out that your new cleaner will turn it into liquid slag versus the expensive & fragile figure itself.
Gap Filling
After you've removed the old paint from your figures, another good step to take is going over them to remove mold lines and fill gaps in the figures. Odds are good that the best deals come from gamers looking to get rid of their first figures, so those figures often are put together haphazardly and the game may not have bothered to remove mold lines.
Removing mold lines is best done with an xacto knife and/or small files. If you're using a knife scrape, don't cut.
The other part of the process is gap-filling. Putting together figures takes some skill, and even the best of us end up with gaps in places we don't want them. This is true for both figures and vehicles.
 |
| Tools of the Trade |
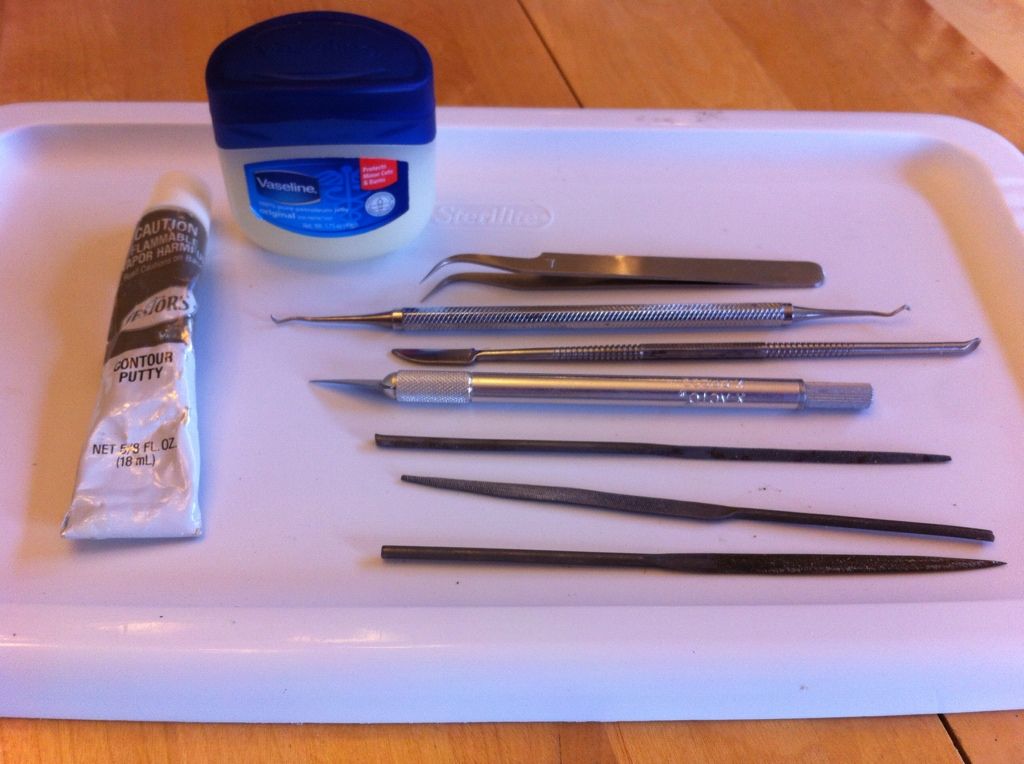
Here are some tools I often use for this step. The metal implements from top to bottom are:
- Hobby Tweezers - useful for fitting small parts and grabbing old bits of paint, stray hairs that may have been painted onto a figure, etc.
- An old dental tool. I got this from my grandfather's stained glass toolbox. I think he modified it to make some interesting twists. It's useful for scraping hard-to-reach areas.
- A GW modeling tool. I bought this on a whim but it's useful for applying contour putty or green stuff.
- A Xacto hobby knife. I use older blades for cleaning mold lines off. THe idea is to scrape the line away versus trying to cut it. YOu can also use a duller blade as a tool for applying putty if you don't have other tools at hand.
- An assortment of jewelers files. These are useful for taking mold lines off, especially on metal figures.
There's also a tube of Testors White Contour Putty and a small jar of Vaseline. The Testors putty is inexpensive and easier to work with for gap filling that either regular Green Stuff or Liquid Green Stuff in my opinion. I use LGS a lot for smaller gap-filling & smoothing work but for larger gaps I don't find it works as well.
I use the vaseline to lightly coat the blades of the hobby tools I use when working with putty. I find it helps keep the putty sticking to the model instead of the blade. I'll also put a little on my finger to help smooth out the putty after applying it.
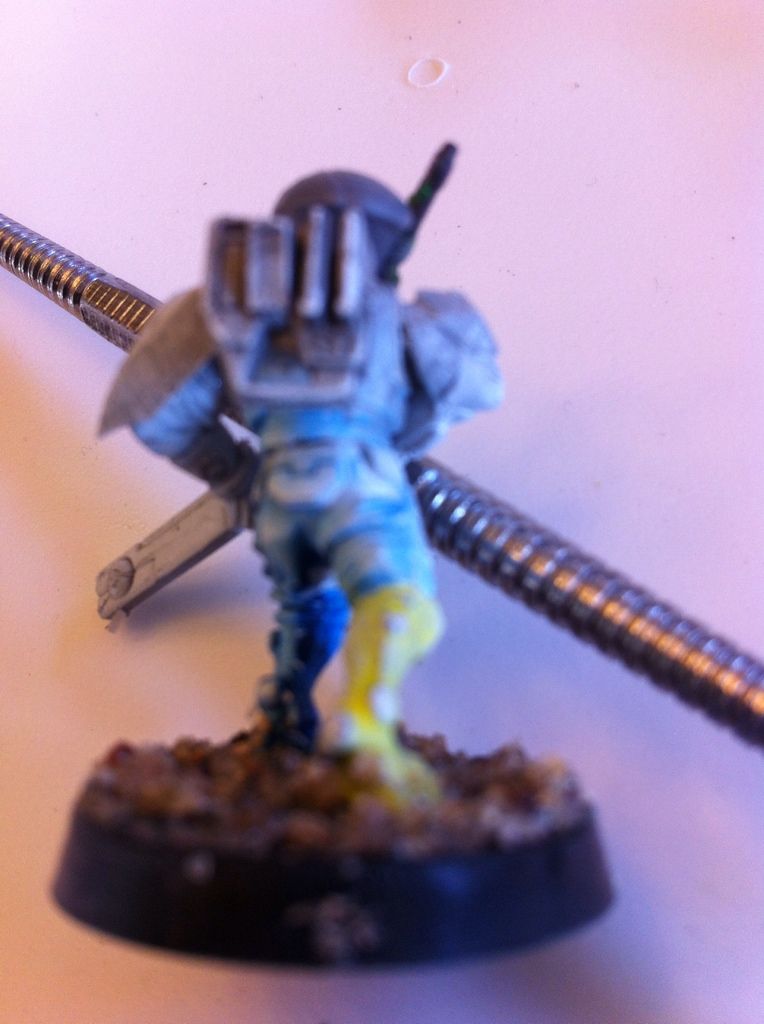
Here's a poorly-photographed example of a gap that needs to be filling. This Fire Warrior has about a 2mm gap between the bottom of his right arm and the torso. That looks terrible and also makes the arm joint weak since there's very little contact between the two parts.
 |
| Mind the Gap |
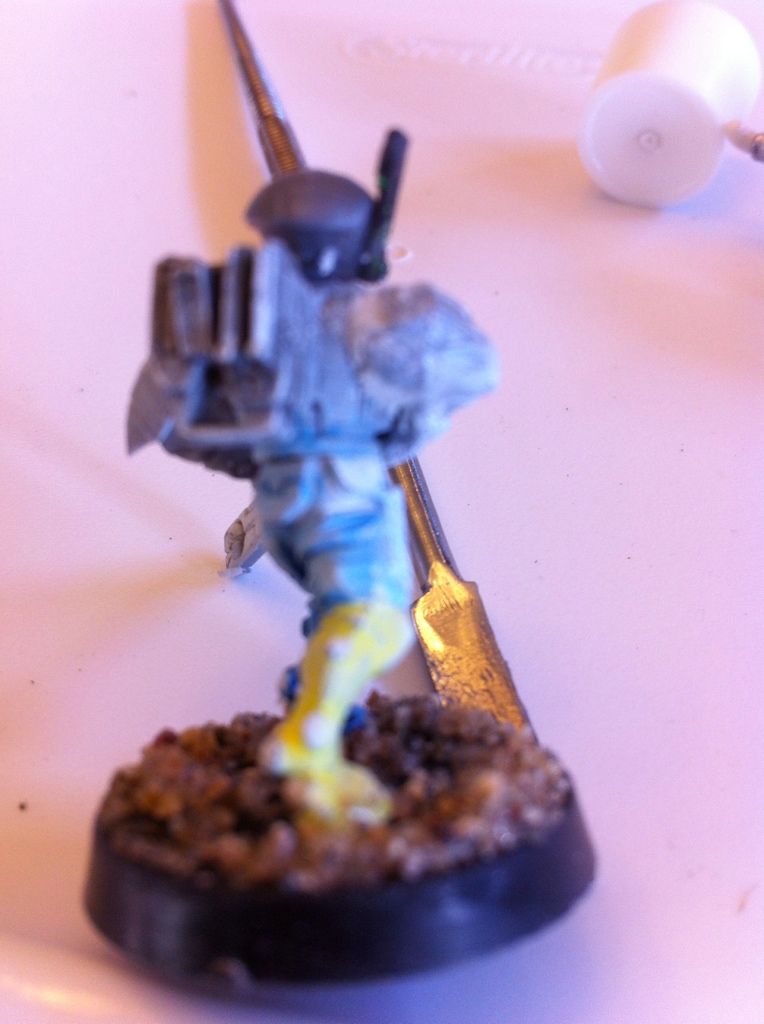
Using a little dollop of contour putty, I use a lightly-greased hobby tool to mash the putty into the joing and smooth it out. Once it's dry the putty is also sandable if needed.
 |
| Gap Filled! |
As you can (sorta) see, the white putty has filled in the gap in the arm joint, making it that much stronger and better-looking once it gets painted. Note the light coating of Vaseline on the hobby tool blade behind the figure.
It's apparent to me that my old iPhone isn't the optimal camera for taking close-up shots. Something I'll have to work on eventually. I apologize for the poor quality of the pictures but it's the best I can do for now. If you have any other questions about putty and gap filling, please leave a comment or ask me on Twitter where my handlie is @GreatRedoubt.
Enjoy, and good gaming!
No comments:
Post a Comment